One can use the same equipment as before to make 3D X-ray photos. To obtain a stereogram (see Wikipedia) one has to take two successive photographs between which the X-ray tube is shifted from position A to position B on a line parallel to the fluorescent screen. Ideally, the center of the object should be on the same plane as the camera, position A, and position B. Further, A and B should be symmetrical to the axis defined by the camera and the center of the object. In contrast to common stereo photography, the position of the camera remains the same during the procedure. The diagram shows the experimental setup as seen from above.
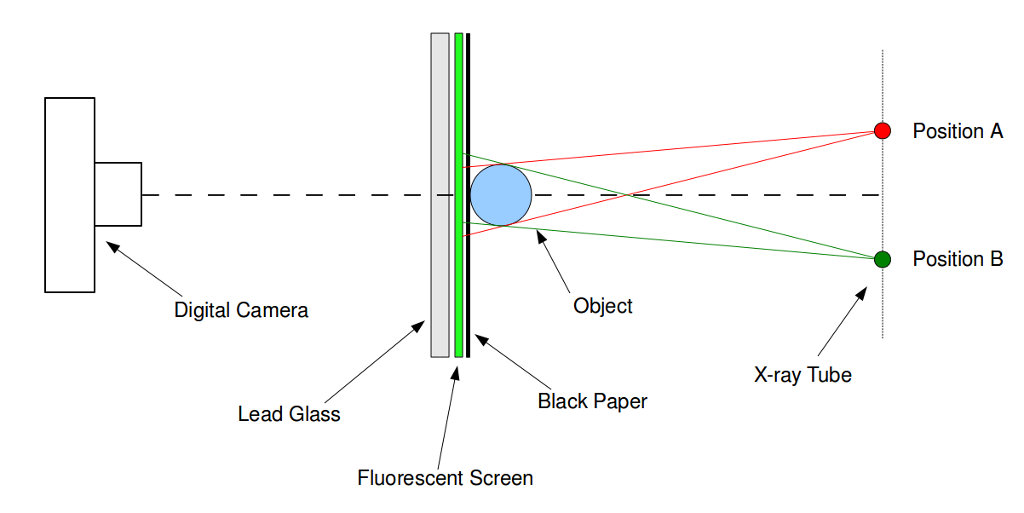 |
3D X-Ray Photography with Fluorescent Screen and Digital Camera
For this experiment, the distance between the back of the camera and the fluorescent screen was set at 40 cm. The distance between X-ray tube and screen was 45 cm. The displacement of the tube with respect to the optical axis was ±3 cm (6 cm is the approximate distance between the eyes).
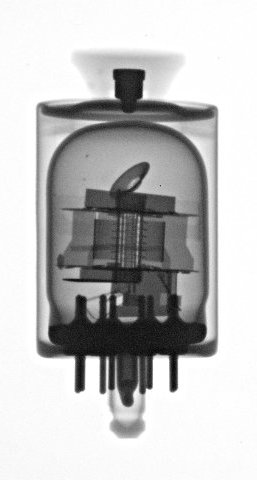
This is a stereogram of the radio tube shown earlier. It is best viewed with the cross-eyed method, i. e., the right eye has to observe the left image while the left eye observes the right one.*
 |
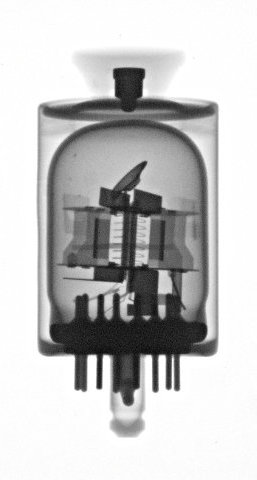 |
Stereogram of Russian Radio Tube
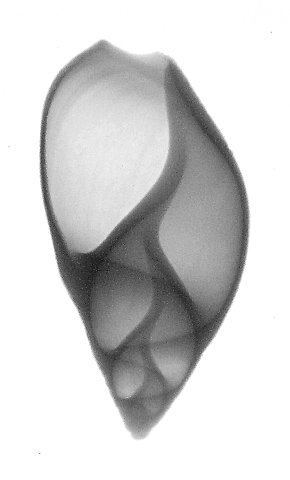
Here is a stereogram of a snail shell, also designed for the cross-eyed method:
 |
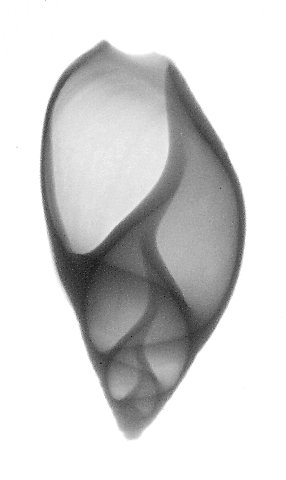 |
Stereogram of Snail Shell
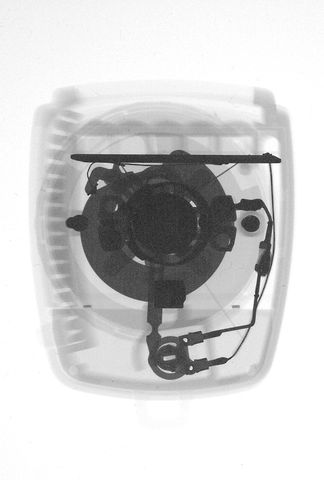
Here is a stereogram of a small exposure meter (Gossen Sixtino):
 |
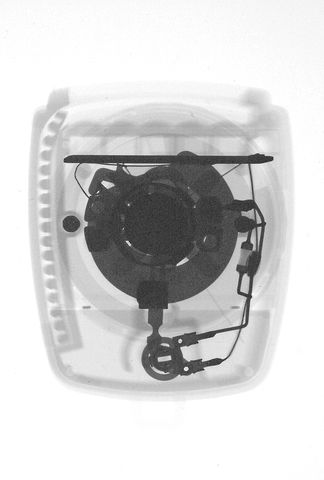 |
Stereogram of Exposure Meter
*Watching ordinary stereograms without technical aids requires some training, and some people find it uncomfortable or do not manage it at all. I found the following method quite helpful: View the stereogram from a distance of approx. 30−50 cm. Hold a pencil in an upright position, put the tip of it between the images and move it slowly towards your face while keeping your eyes focused on it. Observe the background simultaneously. As soon as the latter appears to consist of three non-overlapping images, try to focus your eyes on the one in the middle. As soon as you see a three-dimensional image, slowly remove the pencil downwards out of sight. Repeat the procedure as often as necessary to learn how to adapt your eyes to this method of viewing.
Using Anaglyph Maker 1.08, I merged the stereograms into anaglyph images. These have to be viewed through a red/cyan filter pair (left filter red) to get the impression of seeing 3D images. In general, anaglyph images are more convenient to view than stereograms consisting of two separate pictures.
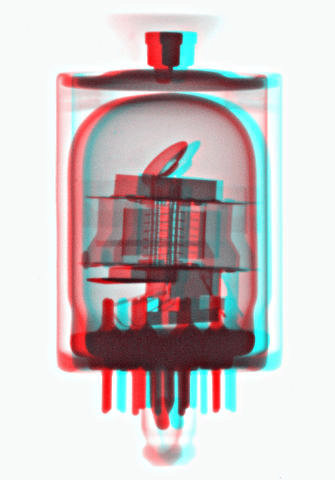 |
Anaglyph Image of Russian Radio Tube
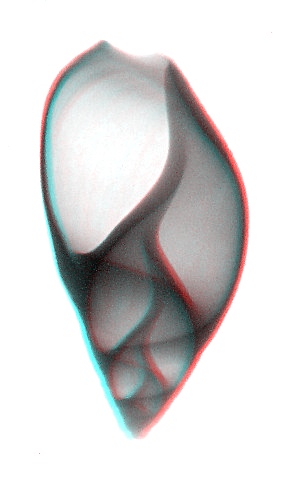 |
Anaglyph Image of Snail Shell
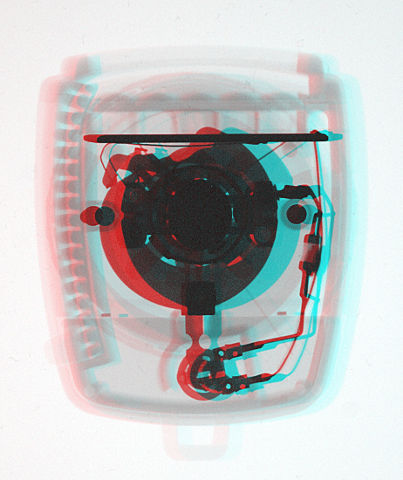 |
Anaglyph Image of Exposure Meter
Will be continued...